Monday 29 May 2017

A Trio of Dylusions


I don’t usually do cards. My thing is to decorate a gift bag and a matching tag, but there are the occasions when I give cards.  My stack of cards is running low so I needed to make some more.
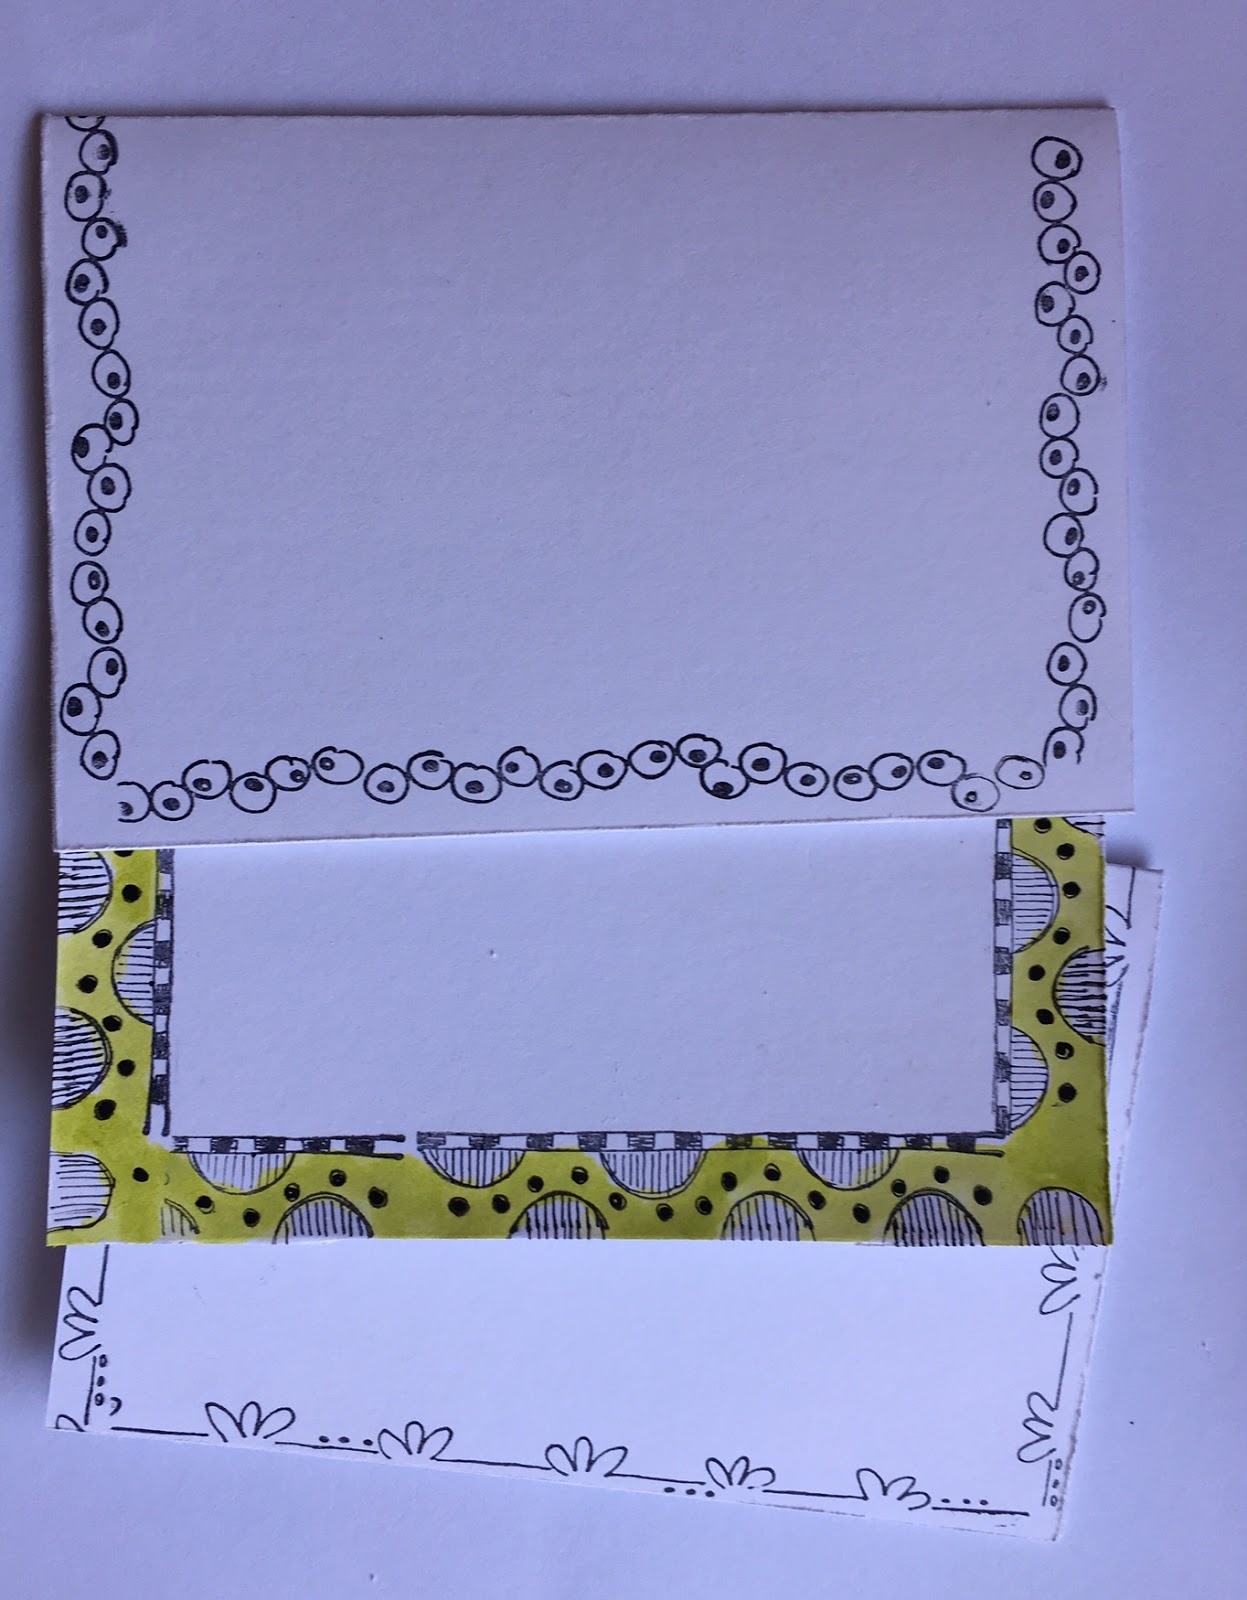
 I started off by stamping a border around three 10.5 x 15 cm cards, using images from two different Dylusions borders stamp sets and Black Archival Ink. I also used Dylusions ink spray in lime and an Aquafine Water brush to colour in the background around the stamped images. I forgot to take a pic when all three were done, but you will see them all at the end.


The backgrounds are Gel Press prints. More often than not I scan my prints before I use them so I’ve always got a good supply of backgrounds for cards or gift bags when I need them.

I chose three images from the Dylusions die cuts that I thought I might use and, because I don’t really like the white borders, I fussy cut them.


I also stamped a number of other bits and pieces from Dylusions stamp sets, some onto Gel prints and the others I painted with Dylusions ink sprays and Liquitex Matte Medium using an Aquafine Water brush. The Liquitex Matte Medium makes the colours pop and also makes them permanent [they won’t react with water] I recoloured the stems of the yellow/orangy flowers with a Black Posca pen. After I took this pic I stamped and coloured some more flowers.
I layered the various elements onto the backgrounds and stuck them down using Liquitex Matte Medium just because it was close at hand. At this stage I realised I hadn't fussy cut some areas, so I fixed this up. 


I used a combination of Antique Linen and Victorian Rose Distress inks and an Aquafine Water Brush to colour the faces, arms and legs of the images.


I glued the backgrounds down onto the stamped cards and finished them off with some Dylusions quotes.
... and my cards are done.
Supplies:

Three - 10.5 x 15 cm cards
Clear stamp set Clearly Quotes
Clear stamp set Clearly the Right Words
Dylusions Stamp Clearly Borders
Dylusions stamp set Bordering on the edge
Dylusions stamp set Inbetweenies
Dylusions stamp set How does your garden grow
Aquafine water brush
Assorted Dylusions Ink Sprays
Lquitex Matte Medium
Black Archival Ink
Dylusions Ink Spray - Bubblegum Pink, Fresh Lime, Calypso Teal, Dirty Martini, 
      Pure Sunshine & Lemon Zest
Aquafine water brush
Black Distress Paint
Black Posco pen
Stapler

Friday 26 May 2017

Faber-Castell Albrecht Dürer Watercolour Pencils

Hi Everyone,

My most favourite coloured pencils in the whole world is Faber-Castell Polychromos!  When I saw that the Faber-Castell Albrecht Dürer Watercolour Pencils are available in South Africa, I decided to give it a try.  And, no surprise! It did not disappoint!   

It has the same feel as the Polychoromos (smooth and creamy)  but with the added benefit of dissolving in water and behaving as traditional watercolour paints. It can be used as regular colored pencils or with water.

This whole project was done with only three colours - Cadmium Yellow, Deep Scarlet Red, Emerald Green available in the Pencil Tin Set of 12.


Trace outlines of the Rose Bouquet Stencil with the Albrecht Dürer Watercolour Pencils.


Remove the stencil and fill in the gaps with pencil.  


Use a Soft Round Paint Brush to add lots of water to dissolve the pencils.  The now saturated red and yellow pigment will start moving and blending to create a soft watercolour effect.


As with watercolours the pigment will move into wet areas. It is thus important to make sure that the rose petals are dry before starting to add the green, otherwise it will run into the pinks and oranges of the rose petals.


If you love watercolouring, but need a bit more control that is offered by a pencil, this  Faber-Castell Albrecht Dürer Watercolour Pencils are the answer.  I also, love the fact that the pigments are so strong that it can also be used as a normal colouring pencil.


Products Used:

Saturday 20 May 2017

Gift Bag Makeover


Today’s project is a gift bag makeover.  I only ever buy plain white/kraft packets or gift bags or I sometimes make them from scratch. I have a stack and decorate them as and when I need them.
Today’s gift bag started off as a plain brown paper packet. I covered the front of the bag with a layer of Gesso, applying it with a palette knife.


I tore up some dictionary paper and stuck it down.

I applied another thin layer of Gesso and wiped it back in some places so that the dictionary paper would show through. 

I rummaged through my stamps and found some round stamps from the Finnabair “Don't Forget To Fly” stamp set and used black Archival Ink to stamp them out onto plain white craft stock.

Then fussy cut them out and stuck them onto the packet.

 I used some texture paste through a stencil on the top right hand and bottom left hand side and left it to dry for a while.

 I used a vintage photo distress crayon and a stencil to stencil the coffee cup stain.  I rubbed over the crayon using my finger to blend it in a little.

 I used Salty Ocean and Twisted Citron Distress Crayons on the background and made a few drips here and there.  

I coloured the circles with a Twisted Citron distress crayon, also rubbing it slightly to blend it in. Then went round them again with my Stabilo Aquarable water soluable pencil and used a Pentel Water brush to activate.

I stamped the butterflies from the same stamp set. I wanted them to be sturdy so I drew a little squiggle of Picked Raspberry distress crayon onto my craft mat, picked up a little onto my Pentel Water Brush, then swiped it into Liquitex Matt Medium and painted the butterflies.

I cut the  words using the Tim Holtz Alterations Collection - Thinlits Die - Celebration Words – Script and black cardstock and glued to the packet.  I thought I was done, but true to form, I came back and added touches of Picked Raspberry distress crayon to pull everything together.

I wanted something to close the packet so stamped the small butterfly twice onto heavy water colour paper fussy cut them then glued the two together. I coloured the butterfly with Picked Raspberry distress crayon using a Pentel water brush. I have this pack of Bobby Pin Hair Clips with Round Cabochon fitting in Antique Bronze  that I often use as packet closures. I cut a few small circles from heavy cardstock and glued them into the round Carbochon fitting, then added a bit of Glue and Seal that I coloured then glued the butterfly on and left it to dry.  It makes an awesome packet closure.  I also couldn’t resist a few dabs of Silver Stickles on the butterfly bodies. Now my gift bag makeover is done.


A gift doesn’t always have to be expensive but when it’s in a hand decorated gift bag it seems to be a million dollar gift.

Supplies:

Kraft packet
Gesso
Texture paste
Black Archival Stamp Pad
Palette knife
Stabilo Aquarable water soluable pencil
Pentel Water Brush
Dictionary paper
Finnabair “Don't Forget To Fly” stamp set
Salty Ocean, Twisted Citron and Picked Raspberry Distress Crayons
Stencil
Liquitex Matt Medium
Bobby Pin Hair Clips with Round Cabochon fitting in Antique Bronze 

Saturday 13 May 2017

Let’s Dance in the Rain


Well, what a day!!!!! With my inspiration all fired up I prepared a mixed media page for the blog only to realise when it was all done and the blog written up, that I had used another butterfly theme.  I do love butterflies and have many, many butterfly stamps and dies but we’ve had a few butterflies of late so that particular page is on the back burner for a while, but lookout for it because it’s a really lovely page .  So out with the inspiration again.

 Today’s page started out as a mop up page in my small 7” x 5” journal. 


I have a few journals and if I’ve got left over ink or paint I use it up in my journals.  Every so often, well quite often, I’ll page through my journals and when creativity strikes I might add a little something, like the drips, and white flowers on the bottom right had side of this page.  At the time I had no idea in mind, just added the drips. I might even added the doodling white flowers at the same time.

Most times I have an idea of what I’m going to create,  but there’s no guarantee that I won’t get side tracked and end up with something totally different, and today is really no different, I had a plan and it didn’t work out, but hey, I’m glad it didn’t because I really like how it turned out in the end. I’ve been waiting for the last of the Gauteng summer rains to come and each day it clouds over and I’m convinced that today is the day, but so far no rain. This got me thinking about one of my favourite sayings, “Life is not about waiting for the storm to pass but learning to dance in the rain”.   I have the stamp, but this time I wanted something a little different so I printed it out using my computer and Microsoft Word.   

I inked up a background stamp with Cobalt Blue Archival ink and stamped onto the page [being careful not to stamp over the white flowers], to create the illusion of rain drops.

I stamped the word “life” at the top left hand side of the page using black Archival Ink and my new Tim Holtz Block letters Alphabet foam stamps, then glued two small strips of torn Gelli print vertically below, and glued the words “is not about waiting for the storm to pass but learning to” lining them up so that they started on the torn gelli print strips so they had something to anchor to.

Then I stamped the word “dance” below again using the Tim Holtz Block letters Alphabet foam stamps and finished off with the typed words “in the rain”.

I was going to use my Tim Holtz Umbrella Man stamp but he didn’t fit in the space, and he also didn’t do anything for the page.  It looked bleak and dreary so back he went into the stamp drawer.
I have this really lovely Stencil Art Stencil, Birds in a Row, which has a variety of different birds and I traced a bird shape onto a scrap of colourful Gelli print and fussy cut it out.

 I added an eye to the bird using my Black and White Posca pens.


I wanted some quirky legs and shoes so used the Stampotique Originals - [9047] Fleur Belle stamp to stamp the long legs and shoes, using Black Archival Ink.  I coloured the shoes with Bubblegum Dylusions ink spray and fussy cut them. Sorry but I didn't take a pic.


I drew an umbrella onto another scrap of Gelli print and fussy cut it. I only stamped it with the same background stamp right at the end and also didn't take a pic. 

I layered the bird up making sure the umbrella was behind the wing before gluing her down.  She also didn’t fit in the space too well, but I’m happy with her having one foot on the “e” and the other on a flower. She really does look like she’s dancing.


I outlined all the flowers with a Black Posca Pen and I think the page is done.

Well that's my art for today.  See you next time!

Friday 5 May 2017

All That Glitters ...


Happy May!

Today’s art is a Gelli Print Landscape.  The last time I played with my Gelli Plate I tried this technique which is something I have wanted to do for some time but never actually got round to it.

I dabbed a few blobs of paint onto my Gell printing plate. Ranger Festive Berries, Salty Ocean and Caribbean Coast, Adirondack Terracotta, Sunshine Yellow.


My yellow and blue are almost finished so I had to use a paint brush which isn't such a bad idea as I can control the amount of paint better. I made sure the different sections, top, middle and bottom, did not blend too much so I cleaned off the brayer between each section. For some reason I had prepped the page with white paint beforehand, and quite perchance little patches of white showed through.


This is the first print I pulled.  I love the different shades of colour on this print and I could never, ever achieve this if I tried it with a paint brush.


And this is the second print, or Ghost print which it is often called.  There's lots of white but I have an idea involving some image transfers for this print.


I used a Black Stabilo Aquarellable pencil to draw in the land area on the other side of the water. Wet my Pentel Water brush and ran it along the line to activate the Stabilo Aquarellable pencil.


I inked up a tree stamp with Black Archival ink and stamped a tree line on the right hand side and without reinking the stamp stamped a reflection in the water.


 I used some glue and my tub of Indigo Blu Mega Flakes - Eton Mess to add a narrow line of beautiful shiny goldy, orangy, pinky flakes along the tree-line and also to create a sun in top left hand corner.


I also used my Black Stabilo Aquarellable pencil to draw a shadow around the sun.


I find it really difficult to capture anything that glitters on camera and I must say these pics really don't do justice to this piece. 

I hope you will try this.  It makes a very effective piece of art that you could frame and hang on a wall or give to someone as a gift.

See you next time!
xxx Angie xxx

Supply List:
5" x 7" Gel printing plate
Various Acrylic Paints - Ranger Festive Berries, Salty Ocean and Caribbean Coast, Adirondack Terracotta, Sunshine Yellow
Brayer
Good Quality Mixed Media paper
Indigo Blu Mega Flakes - Eton Mess
Black Stabilo Aquarellable pencil
Glue